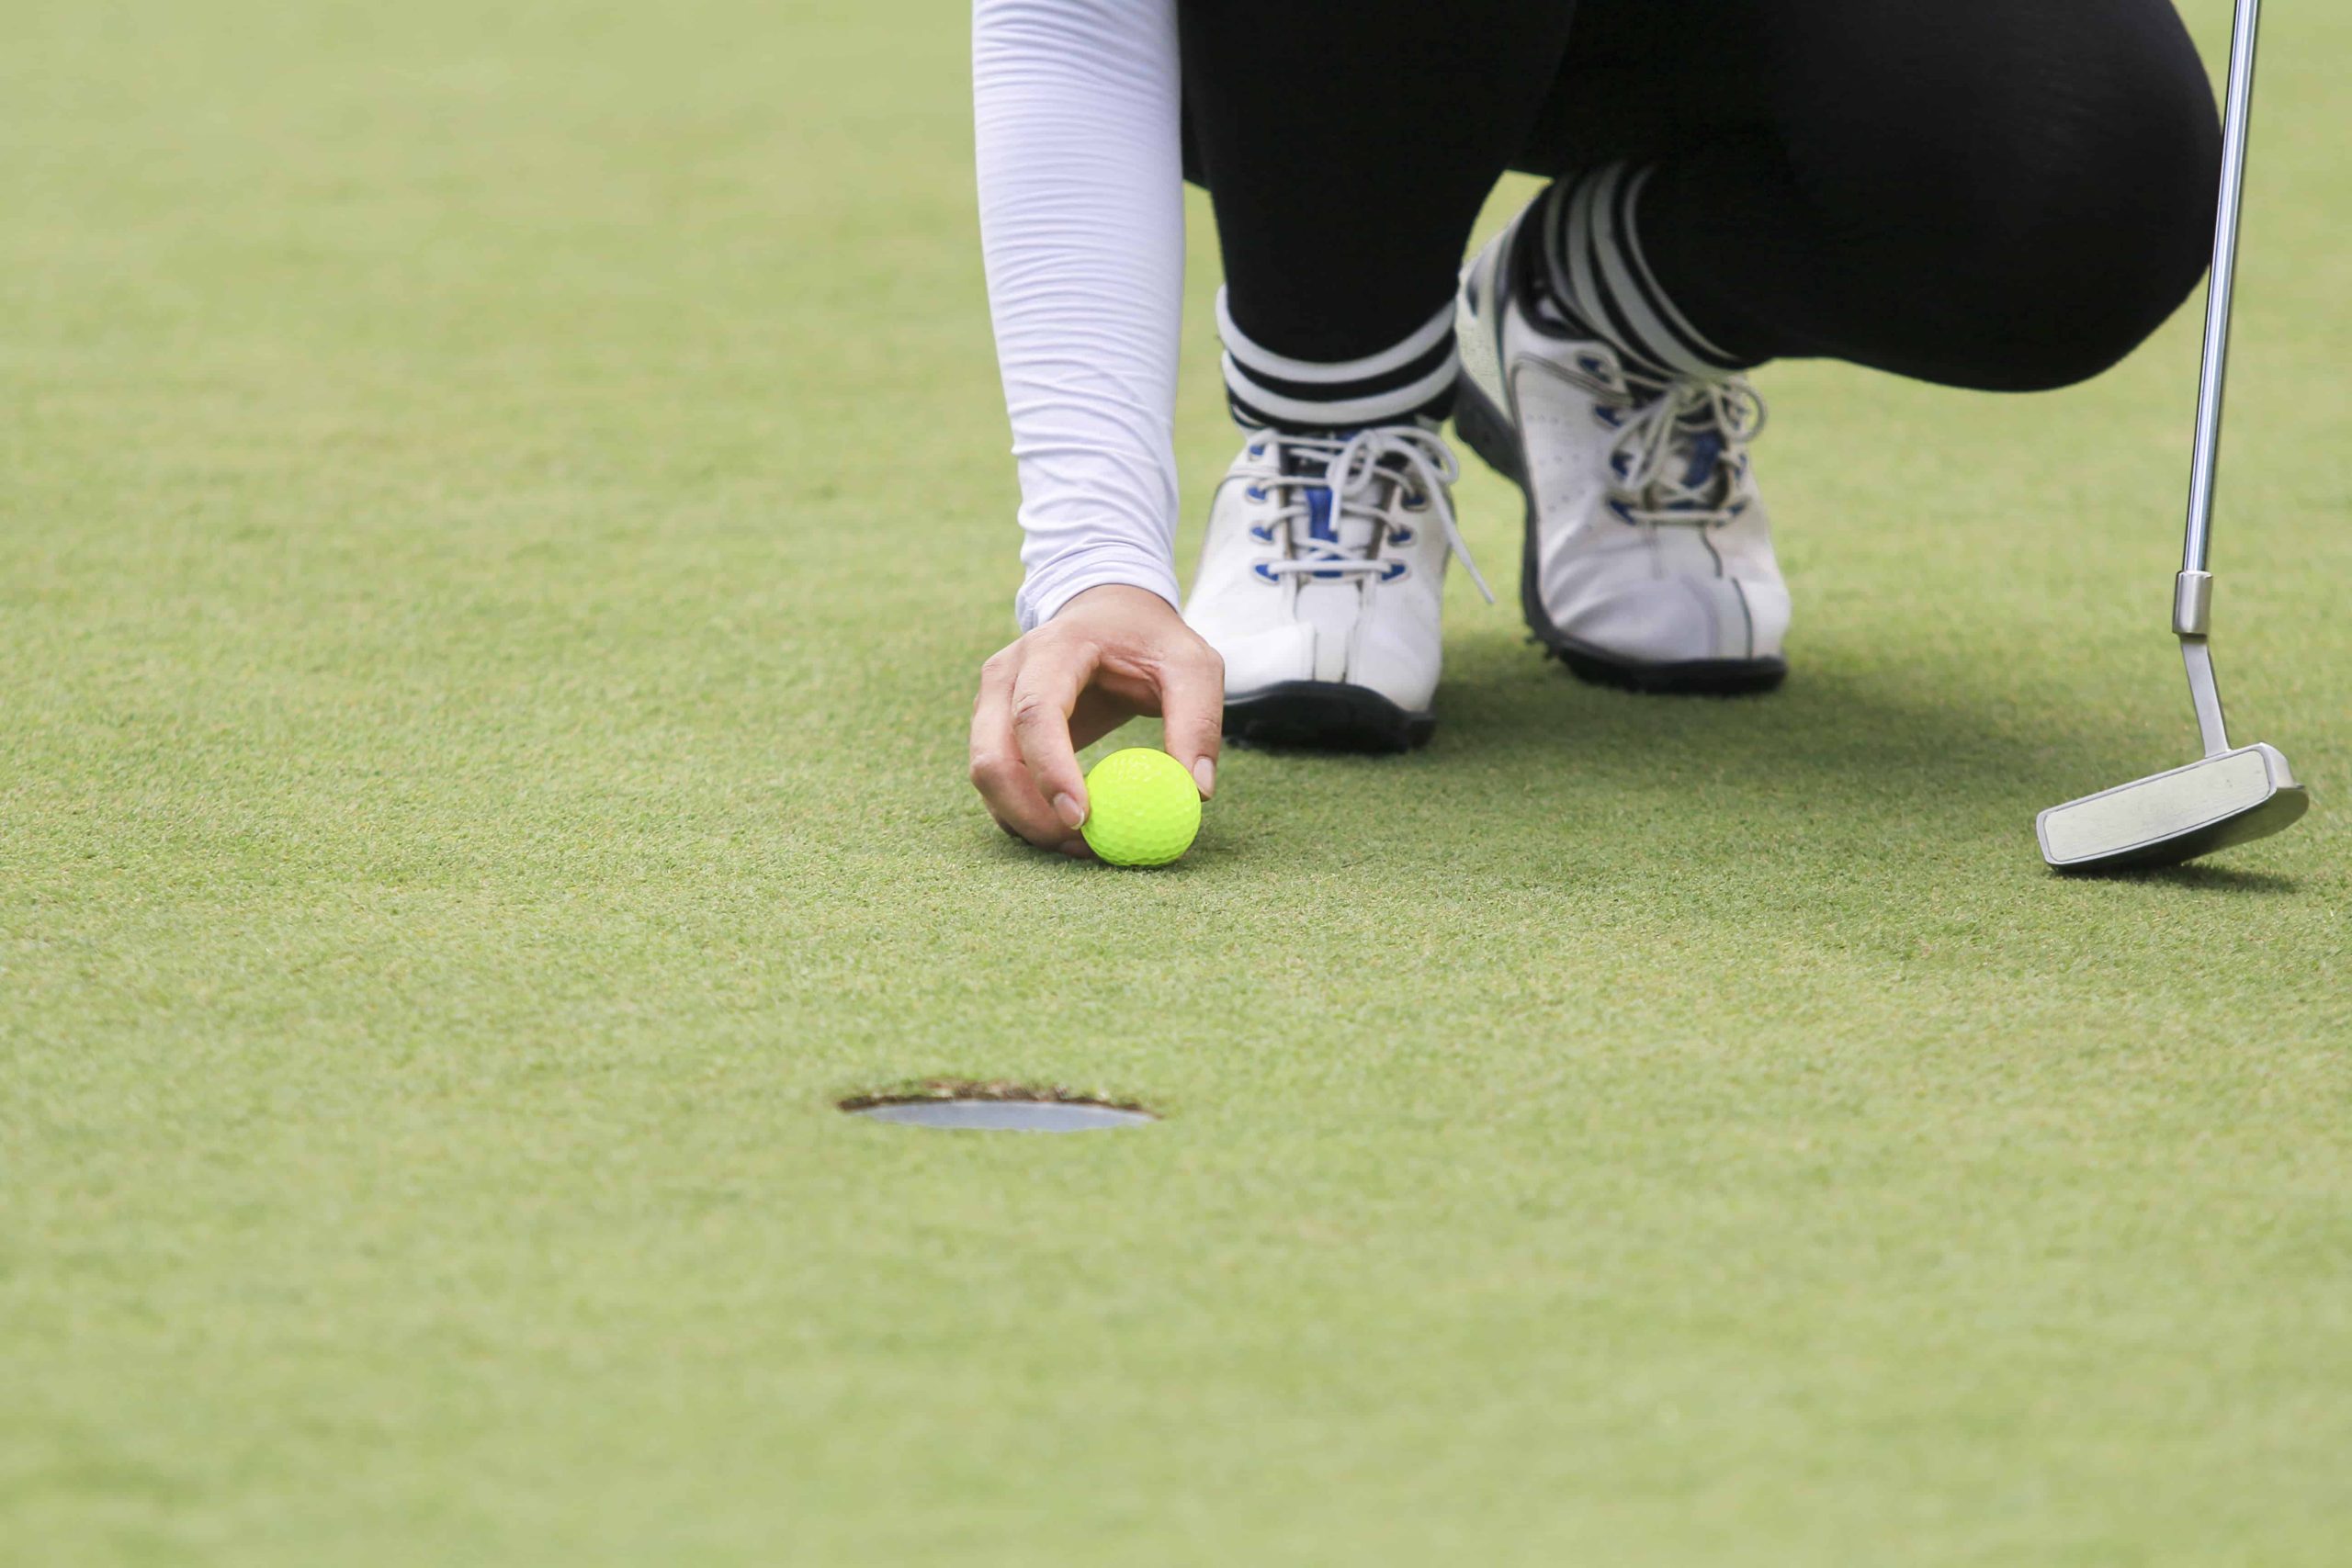

Putting accounts for nearly 40% of all strokes in a round of golf, yet most beginners spend 90% of their practice time on the full swing. That’s a massive missed opportunity. The fastest way to lower your scores isn’t hitting driver farther — it’s making more putts from inside ten feet and leaving yourself tap-ins from longer range. This guide delivers proven, actionable techniques that will improve your putting accuracy immediately. No expensive training aids required. Just fundamental changes you can implement today.
The Gate Drill: Train a Square Strike
The most common putting mistake is not hitting the center of the putter face. Even a millimeter off-center causes the ball to start offline. The gate drill is the single best drill for fixing this. Place two golf tees in the green just wider than the width of your putter head — about one inch apart. Position these tees one inch in front of your ball. Your goal is to putt through the gate without touching either tee. Start with three-foot putts. When you can make ten in a row without touching the tees, move back to five feet. This drill forces your stroke to be square and centered. The feedback is immediate: if you hit a tee, you know exactly where your strike was misaligned. Do this drill for five minutes before every practice session. Within two weeks, your center-face contact will become automatic.
Start Line Control with the Ruler Drill
Once you can strike the center of the face, you need to control the starting direction of the ball. The ruler drill is brutally effective. Take a 24-inch metal ruler or a yardstick and lay it flat on the green. Place a golf ball at one end, then putt so the ball rolls along the entire length of the ruler without falling off. If the ball stays on the ruler for the full two feet, your putter face was square at impact and your stroke path was straight. If the ball rolls off the left side, your face was closed. Off the right side means an open face. Practice this until you can keep the ball on the ruler ten times in a row. This drill removes all guesswork; you either succeed or fail clearly. Many teaching pros call this the most valuable putting drill ever created. Use it daily.
Eye Position: The Overlooked Accuracy Killer
Where your eyes are positioned over the ball dramatically affects your ability to see the true putting line. Most amateurs set up with their eyes inside the ball — closer to their feet than to the target line. This creates a parallax error: you think you’re aimed correctly, but you’re actually aimed several inches off. The correct eye position is directly over the ball or just slightly inside the line. To check, assume your putting stance and drop a second ball from your left eye (for right-handed putters). The dropped ball should hit the ground on or just inside the line of your putter head. If it lands well inside, your eyes are too far over the ball. If it lands outside, your eyes are too far back. Use a mirror at home: set up with a mirror under the ball. When you look down, your eyes should be directly over the reflection of the ball. Correcting your eye position alone can improve accuracy by 30% instantly.
The Pendulum Shoulder Stroke
Wristy putting strokes are inconsistent. The putter face rotates open and closed through impact, sending the ball off line. The solution is a shoulder-driven pendulum stroke. Place your hands on the putter so your palms face each other (a neutral grip). Now lock your wrists completely — they do not move during the stroke. Your shoulders rock back and forth like a pendulum, moving your arms and the putter as one unit. To feel this, hold a tee between your left thumb and forefinger, pinning it against the putter grip. If the tee falls during your stroke, you moved your wrists. Practice with a metronome set to 70 beats per minute. Rock your shoulders back on one beat, then through on the next beat. The stroke length should be equal back and through. This repeatable, wrist-free motion produces straight starts and consistent distance control. Even PGA Tour putters use a predominantly shoulder-driven stroke for putts inside 20 feet.
Face Angle Awareness: The Laser Drill
At impact, the putter face angle determines 95% of the ball’s starting direction. Most players have no idea whether their face is square, open, or closed at the moment of truth. The laser drill gives you instant feedback. Attach a cheap laser pointer to the top of your putter shaft using rubber bands or tape. Aim at a target on the wall from four feet away. The laser dot shows exactly where your face is pointing. Make practice strokes while watching the dot. If the dot moves off the target during the stroke, your face is rotating. The goal is to keep the laser dot perfectly still on the target through the entire stroke. This is extremely difficult at first — your face probably opens and closes more than you realize. Practice for ten minutes daily. Within two weeks, your face control will improve dramatically. This skill directly translates to holing more putts.
Read the Green Correctly: The Plumb-Bob Shortcut
Many putts miss because of misreading the break, not a bad stroke. The plumb-bob method is a simple way to estimate break. Stand behind the ball, hold your putter vertically at arm’s length, and close one eye. Align the putter shaft with the center of the ball. Look at where the shaft intersects the hole. If the hole appears to the left of the shaft, the putt breaks left. If to the right, it breaks right. The amount of break relates to how far off-center the hole appears. This method works because gravity creates a true vertical reference line. For a more advanced read, walk the length of your putt and feel the slope with your feet. The highest foot indicates the direction of break. Then visualize the ball’s path: picture how a drop of water would roll from your ball to the hole. Commit to your read completely — second-guessing mid-stroke destroys accuracy.
The Speed-Accuracy Connection
Speed and accuracy are linked: the correct speed makes the hole appear wider. For putts with break, the ideal speed is just enough to roll the ball six to twelve inches past the hole if it misses. This “dying speed” actually holds the line better than blasting the putt. For straight putts, a firmer speed reduces break. Practice the “string drill”: lay a string or alignment stick on the ground pointing directly at the hole. Putt along the string focusing only on speed, not line. Your goal is to stop the ball within a three-foot circle past the hole. Speed control is more important than perfect line for long putts. For short putts (inside five feet), hit the ball firmly enough to take out most of the break. A firm short putt stays on line much more reliably than a soft, dying putt that can be deflected by imperfections.
Distance Control: The Backstroke Length Method
Most amateurs have no reliable way to control distance. They just “feel” it, which fails under pressure. The backstroke length method gives you a repeatable system. On a practice green with medium speed, measure these reference points: a ten-foot putt requires a backstroke of about four inches (measured from the center of the ball). A twenty-foot putt requires an eight-inch backstroke. A thirty-foot putt needs a twelve-inch backstroke. Learn these three lengths precisely. Use alignment sticks or tees to mark the backstroke length for each distance. Practice until you can consistently hit those distances without thinking. Once mastered, you can adjust for green speed: faster greens require shorter backstrokes for the same distance; slower greens require longer. This systematic approach removes guesswork and builds confidence. Even under pressure, you can trust your trained backstroke lengths.
The Pre-Putt Routine: Consistency Under Pressure
Accuracy collapses without a repeatable routine. Build a five-step routine and use it for every putt, including practice putts. Step one: read the putt from behind the ball. Step two: walk to the low side and read again. Step three: take one practice stroke while looking at the hole (this calibrates distance). Step four: step into your stance, set the putter behind the ball, and take one last look at the line. Step five: within three seconds of that last look, make your stroke. The three-second rule prevents overthinking. Never stand over the ball for more than five seconds — that’s when tension and doubt creep in. Time your routine; it should take no more than twenty seconds from start to finish. Practice this routine on your living room carpet. When it becomes automatic, you’ll make more putts under pressure because your brain isn’t making decisions — it’s executing a learned sequence.
Drills You Can Do at Home (No Green Required)
You don’t need access to a putting green to improve accuracy. On carpet, practice the gate drill using two books as gate posts. Use the ruler drill on any hard floor. Practice your pre-putt routine in front of a mirror, checking your eye position and shoulder alignment. Put a quarter on the floor and practice stroking putts so the putter head passes directly over the quarter. This trains center-face contact. You can even practice distance control by putting a ball across a room and trying to stop it against the baseboard without hitting it. Fifteen minutes of home practice daily will keep your stroke sharp between range sessions. The key is quality repetitions with focused attention on one element — never mindless putting. Every stroke must have intent and feedback.
The bottom line on putting accuracy: You cannot buy a better putting stroke — you must build it through deliberate practice. Focus on these seven elements: center-face contact (gate drill), square start line (ruler drill), correct eye position, shoulder-driven pendulum stroke, face angle awareness (laser drill), proper green reading, and a repeatable pre-putt routine. Spend 50% of your practice time on putts inside ten feet — that’s where scoring happens. The remaining 50% should be lag putting for distance control. After two weeks of daily work on these drills, you will see measurable improvement in your scores. And best of all, confident putting transforms the entire game. When you know you can make the comeback putt, you play looser and hit more aggressive shots. That’s the hidden power of becoming a great putter.