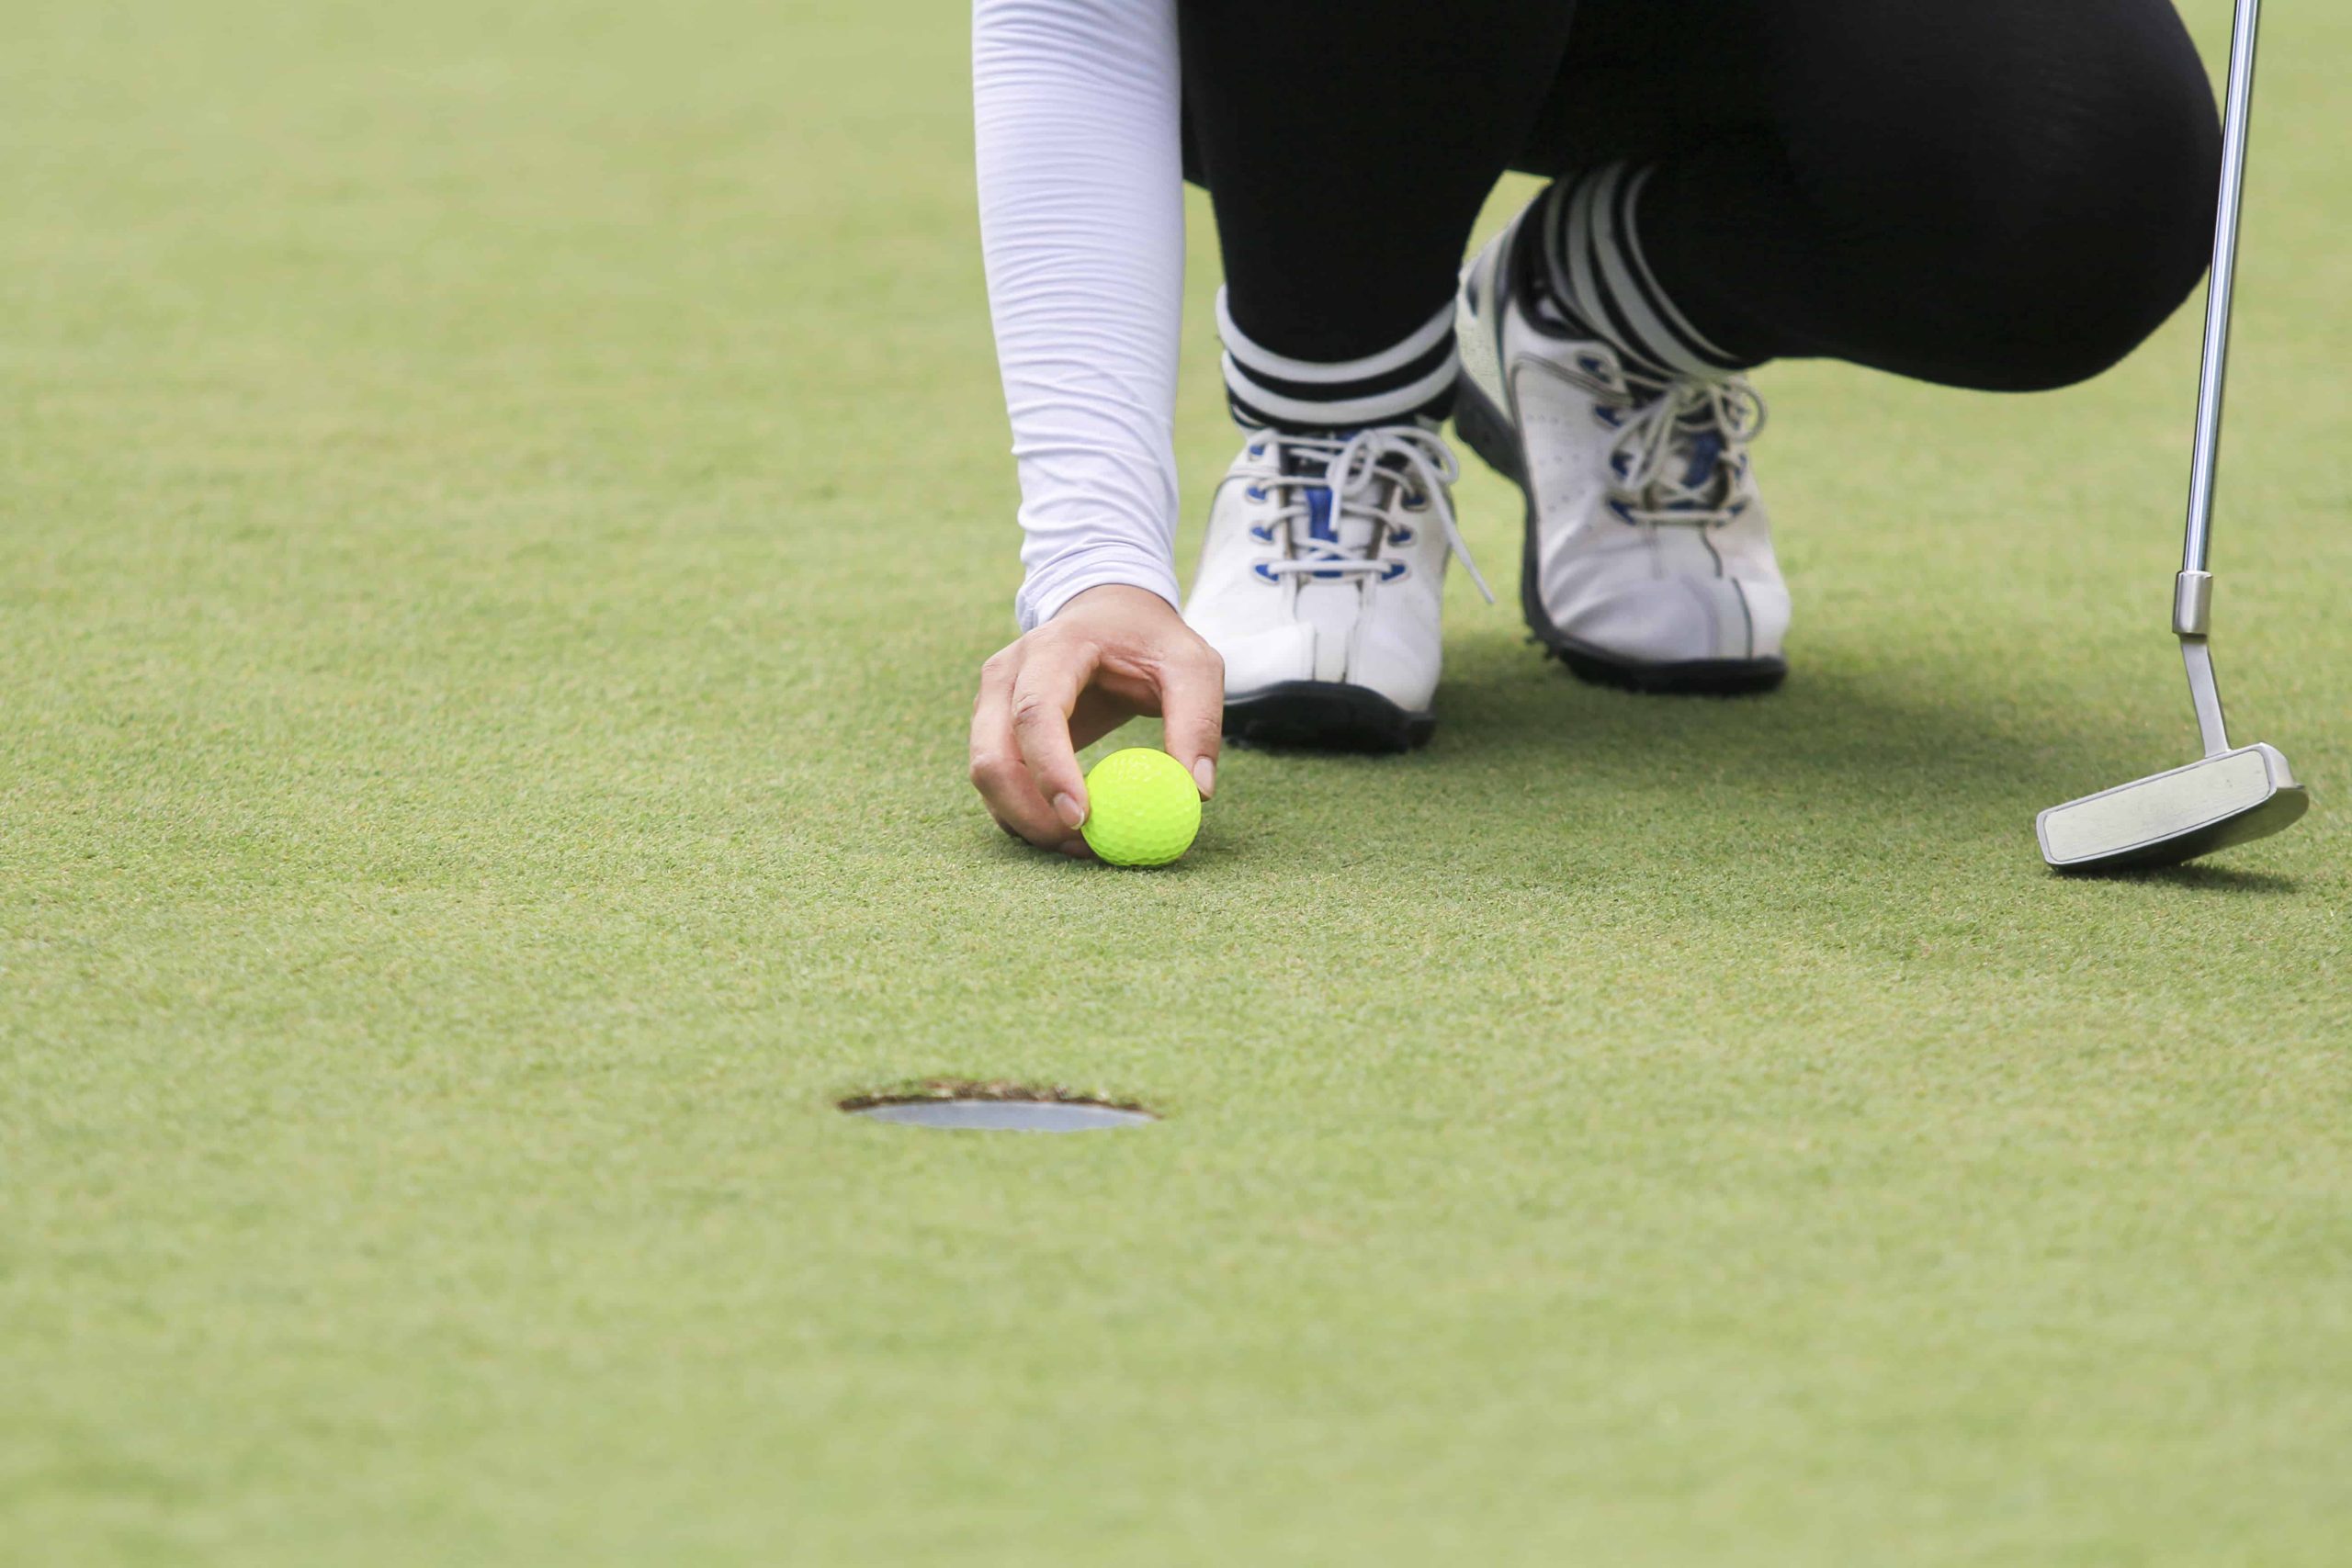

Starting golf can feel intimidating — unfamiliar terms, strange etiquette, and a swing that seems impossible to master. But the truth is, every seasoned golfer once stood where you are now. With the right roadmap, you can go from complete beginner to confident player faster than you think. This guide walks you through everything: how to start playing, essential rules, what to expect from your first lesson, swing fundamentals, fixing common mistakes, putting accuracy, short game secrets, and distance control techniques. Let’s tee it up.
1. How to Start Playing Golf as a Complete Beginner
Before you buy expensive equipment, start simple. Visit a local driving range — most ranges rent clubs for a few dollars. Focus on making contact with the ball, not where it goes. Your first goal: hit ten balls in the air. Once you’re comfortable, consider a “starter set” of clubs (a driver, a hybrid, a 7-iron, a pitching wedge, and a putter). Avoid buying a full $1,000 set immediately. Look for used or package sets under $300. Next, play a few rounds on a par-3 or executive course (shorter holes, less pressure). Finally, take one group beginner clinic — they’re affordable and teach basics alongside other nervous newcomers. Don’t practice for hours straight. 20–30 minutes of focused practice, three times a week, beats one marathon session.
2. Basic Golf Rules Every New Player Must Know
You don’t need to memorize the entire rule book. Focus on these six essentials. Play the ball as it lies — don’t move, kick, or improve your ball’s position except in special cases like ground under repair. For out of bounds or lost ball, if your ball goes beyond white stakes or you can’t find it after 3 minutes, add one penalty stroke and play from the original spot. You can declare an unplayable lie anywhere except water hazards; options are drop within two club-lengths, go back on a line, or re-hit from previous spot, all costing one penalty stroke. For water hazards marked by red or yellow stakes, drop behind the hazard or where the ball last crossed the margin with one penalty stroke. The honor on tee goes to the player with the best score on previous hole, but in casual play “ready golf” is fine. Count every stroke including whiffs if you intended to swing. One golden rule for pace: if you’re shooting double par, pick up and move to next hole.
3. First Golf Lesson: What to Expect
Your first lesson is less intimidating than you think. Most instructors start with a 5-minute chat about your goals — just want to make contact or break 100? Then they’ll watch you swing a few times, even if it’s terrible. Don’t be embarrassed. The coach will focus on one or two things only: usually grip, posture, or a simple half-swing motion. You’ll hit balls into a net or on a range, and they’ll use video analysis or alignment sticks. At the end, you’ll receive one or two drills to practice. What you won’t get is a complete swing overhaul in 45 minutes. What you will get is a clear “homework” drill. A good instructor never overwhelms you. Expect to pay $50–$100 for a private lesson or $25–$40 for a group clinic. After the lesson, practice the drill for 10 minutes before your next range session.
4. How to Fix Your Golf Swing Step by Step
Fixing a swing isn’t about changing everything at once. Follow this progression. Step 1: Grip first. Place the club more in your fingers, not palm. For right-handers, the left hand holds the club like a suitcase handle, thumb pointing down the shaft. The right hand overlaps or interlocks. A neutral grip shows two knuckles of left hand when looking down. Step 2: Posture and alignment. Stand with feet shoulder-width, slight knee flex, spine tilted forward from the hips, not rounded back. Let your arms hang naturally. Align clubface to target, then align feet, hips, shoulders parallel left of target for righties. Step 3: The turn, not sway. Many beginners sway sideways. Instead, rotate your shoulders while keeping your lower body stable. Feel your left shoulder turn behind the ball on backswing. Step 4: Half-swing first. Swing back until your left arm is parallel to ground, then swing through. Most swing faults come from overswinging. Step 5: Finish balanced. Finish with weight on front foot, chest facing target. If you can’t hold finish for 3 seconds, you’re swinging too hard.
5. Perfect Golf Swing Fundamentals Explained
The “perfect” swing doesn’t exist, but great swings share five non-negotiable fundamentals. Dynamic balance means you can lift your back foot after impact without falling over. Width at the top requires keeping your left arm straight but not locked to create a wide arc — more width equals more speed. Lag angle means on the downswing, maintain the angle between left arm and clubshaft as long as possible; this late release produces effortless power. Impact position demands your hands slightly ahead of the clubhead with hips slightly open, creating compression. A square clubface is critical — most amateurs slice because clubface is open. At impact, the clubface should point roughly toward the target for a straight shot. Don’t obsess over positions. Film your swing from face-on and down-the-line, compare to a pro, then pick one thing to improve for two weeks.
6. Common Swing Mistakes and How to Correct Them
The slice causes the ball to curve sharply right for righties. Cause: clubface open relative to swing path. Fix: strengthen grip slightly by turning both hands right on the grip, and feel like you’re swinging more to right field. Another drill: place a headcover six inches outside the ball and avoid hitting it. Hitting behind the ball results in fat shots. Cause: weight stays on back foot. Fix: at address, put 60% weight on front foot. During downswing, feel your chest move toward target. Practice stepping drills — after swing, take a step forward with back foot. The “over the top” move creates a steep downswing. Cause: shoulders start the downswing. Fix: feel like you drop your hands straight down behind you to start downswing. Use the pump drill — pump the club halfway down twice before swinging. Topped shots make the ball roll on ground. Cause: lifting up through impact. Fix: keep your spine angle. Stare at a spot two inches behind the ball and don’t look up until after you’ve hit it.
7. How to Improve Your Putting Accuracy Fast
Putting accounts for nearly 40% of your strokes. To improve accuracy immediately, try the gate drill. Place two tees just wider than your putter head, one inch in front of the ball. Putt through the gate without touching tees. Repeat until you can do ten in a row. This trains a square strike. For the start line brick method, lay an alignment stick or ruler on the green. Putt along the ruler’s edge. If the ball stays on the ruler for two feet, your face was square. Eye position matters: most amateurs set their eyes inside the ball. Your eyes should be directly over or just inside the ball line. Use a mirror or video to check. This eliminates parallax error. Use a one-piece takeaway: keep your wrists firm. Shoulders rock like a pendulum. The putter face stays square to the arc. Practice with a tee in the butt end of the grip — it should point at your belly button, not move side to side.
8. Secret Tips for Better Short Game Performance
The secret that low-handicappers know: you don’t need a perfect full swing; you need a reliable short game. Secret tip one is the “hinge and hold” chipping. For chip shots around the green, use a putting grip but hinge your wrists slightly on the backswing, then hold the angle through impact. This creates low, running chips that roll like putts. Club choice: use 8-iron for long runners, pitching wedge for mid, sand wedge only for obstacles. Secret tip two is the “one bounce, then stop” pitch shot. For pitches between 20 and 50 yards, set up with feet close together, weight 70% on front foot. Make a smooth half-swing, letting the club glide under the ball. Focus on the spot where you want the ball to land, not the flag. The ball will take one bounce then check up with clean contact. Practice up and down drills. Drop three balls 20 yards off the green. Get up and down — chip plus one putt — with all three before you leave practice. Do this twice per week and your handicap will drop fast.
9. Distance Control Techniques for Putting
Three techniques master lag putting where two-putt is a win. Technique one is the backstroke length method. Instead of thinking “hit harder,” think “backstroke length equals distance.” On a medium-speed green, a ten-foot putt requires a four-inch backstroke. A thirty-foot putt requires a ten to twelve inch backstroke. Practice feeling specific backstroke lengths on a practice green with no target, just varying lengths. Technique two is the clock face rhythm. Count a consistent tempo, for example “one-thousand-one” on backswing and “one-thousand-two” on through swing. Increase distance by making backstroke longer but keeping same tempo. Never rush the transition. Technique three is to look at the hole, not the ball. On long putts, make two practice strokes looking at the hole to feel distance. Then step in, look at the ball for one second, and stroke while visualizing the ball rolling into the hole. This removes tension. Try the ladder drill: place tees at ten, twenty, thirty, and forty feet. Putt from each marker and try to leave putts inside a three-foot circle. Score three points for inside one foot, two points for inside two feet, one point for inside three feet. Target fifteen points in ten putts.
Final takeaways: Golf rewards patience more than power. As a beginner, focus on three things: making solid contact, learning basic rules, and spending 50% of your practice time on putting and chipping. Book that first lesson, embrace the shanks — they happen to everyone — and celebrate small wins like hitting one fairway or two-putting from forty feet. The game will reward you for decades. Now go enjoy the walk in the park with a little white ball.